|

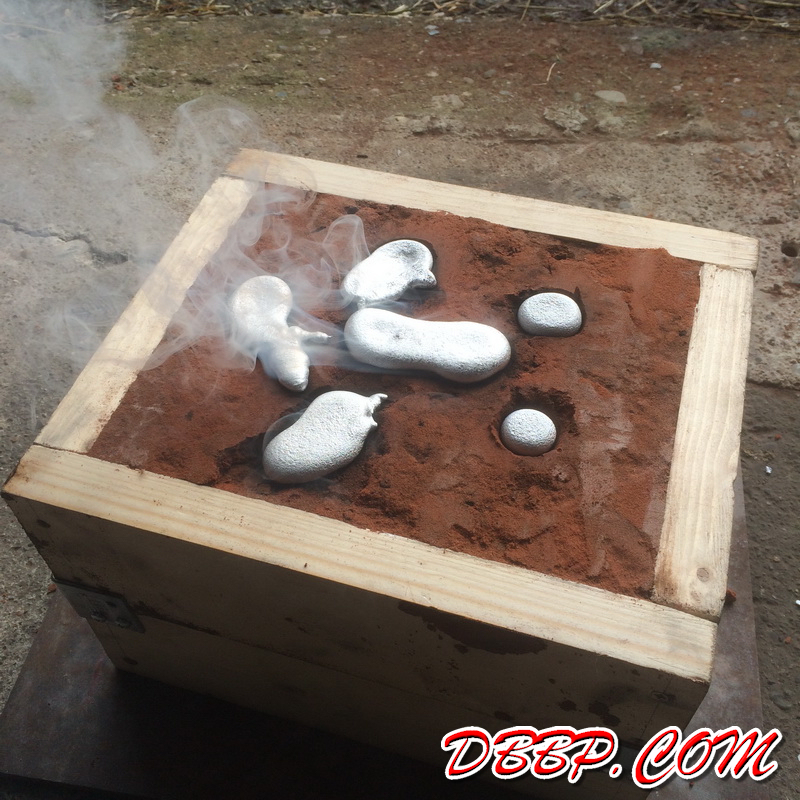
| As
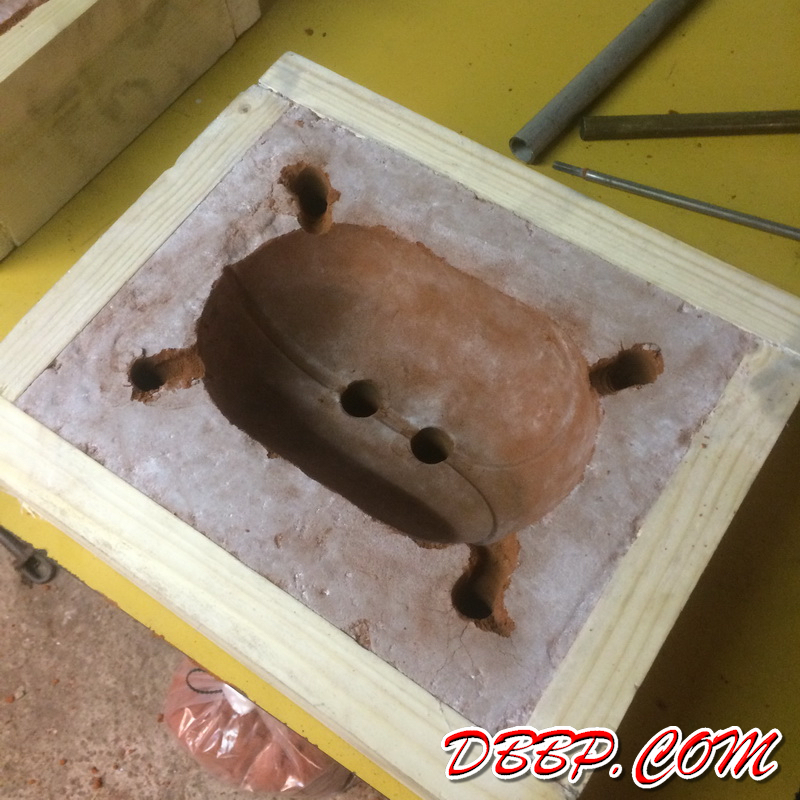
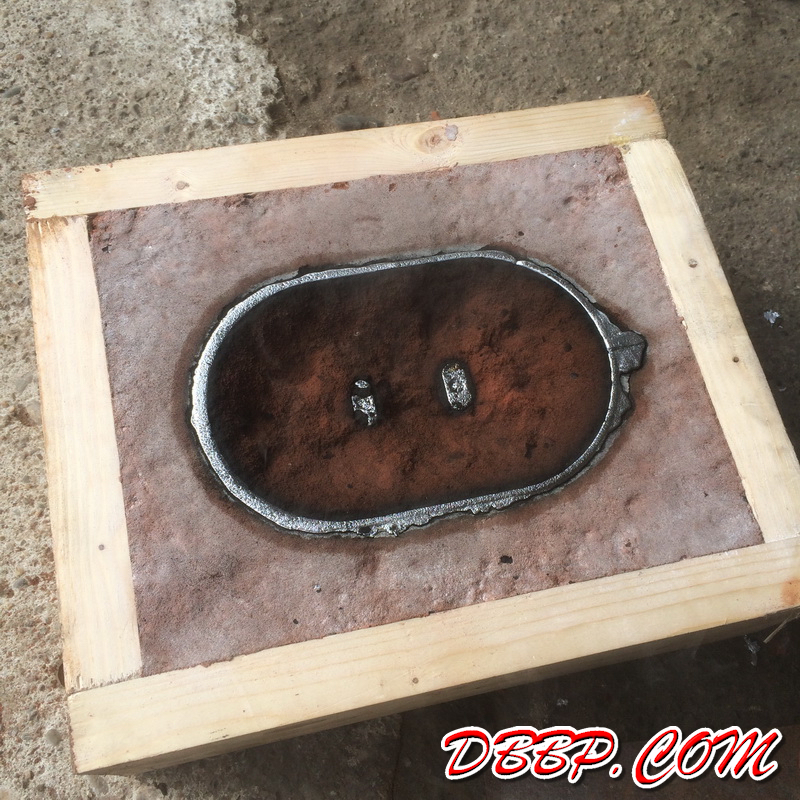
the walls at the outer edges were the thinnest I figured I would
pour the aluminium in the thicker center and let the air escape
through 4 holes at the edges. Ahem, keep in mind this was the
first try... I made some little dams of sand to keep the molten
aluminium away from the wood, and after 2 hours in the oven
the aluminium was ready to pour.
|
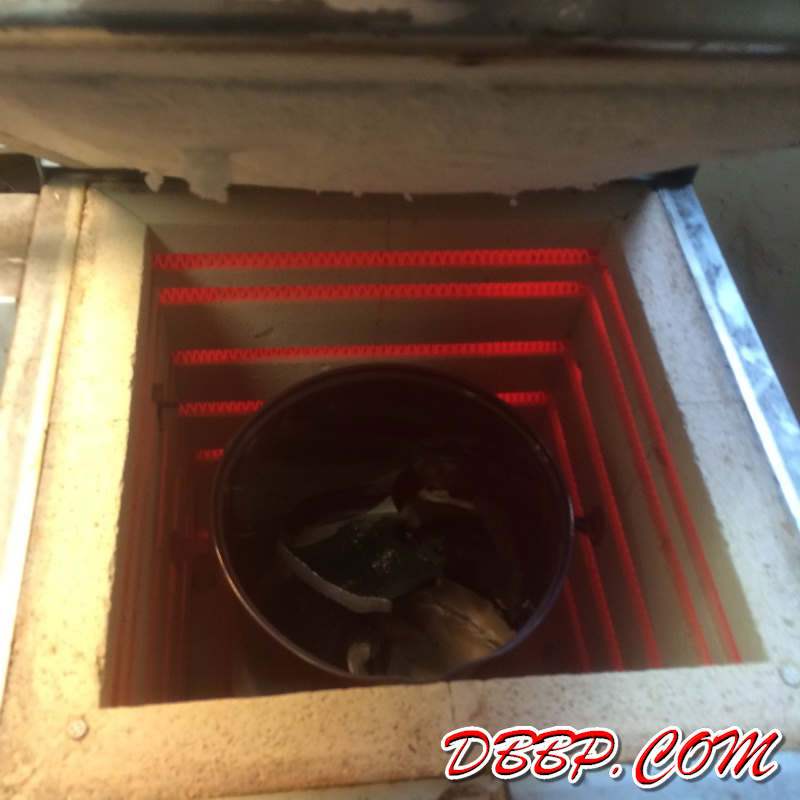
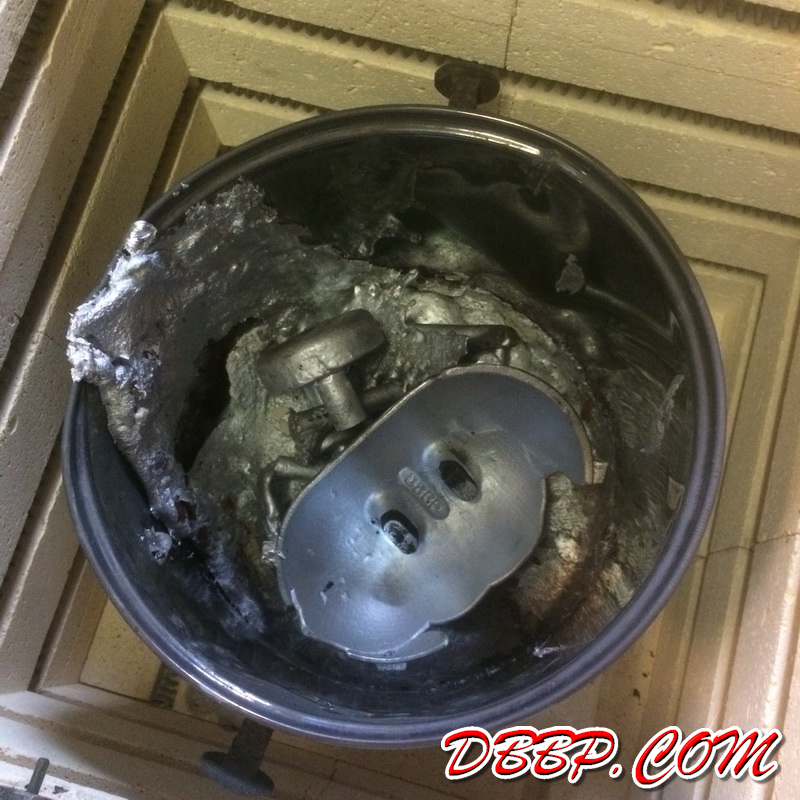
| When
melting aluminium all the stuff like paint, dirt etcetera tends
to float to the surface, so this you scoop off and do not use.
I have no pics of this or of the actual pouring as I was doing
this alone and needed both hands.
|


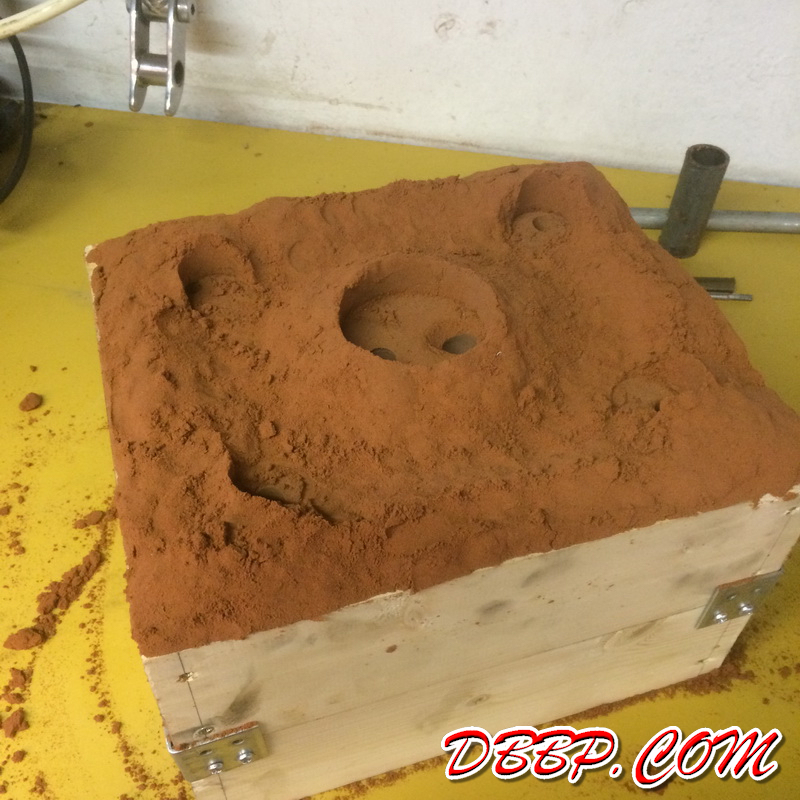
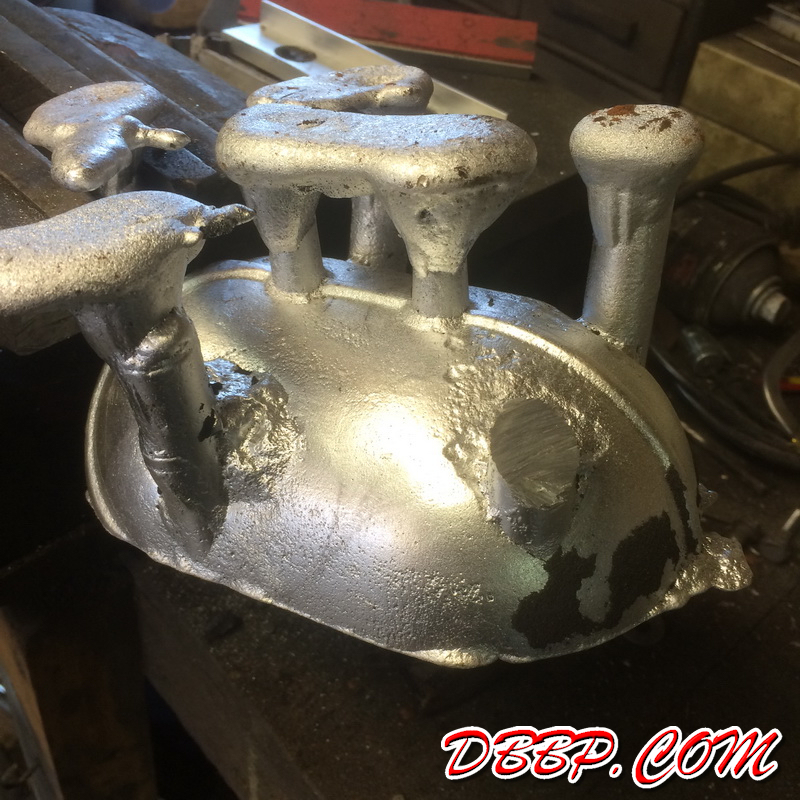
| After
pouring aluminium in the center hole I was expecting to see
aluminium coming up in the risers but this did not happen. That
meant that the aluminium was already solidifying in the thin
parts and thus blocking the way. I pored some aluminium in the
4 risers knowing there would probably be air trapped in there
but what the hell....
|
|
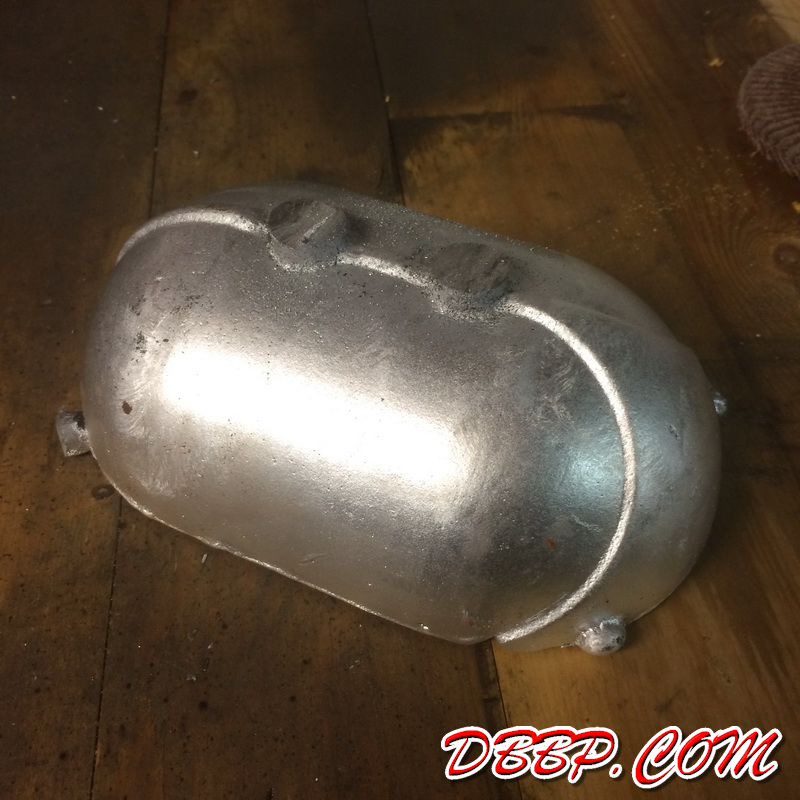
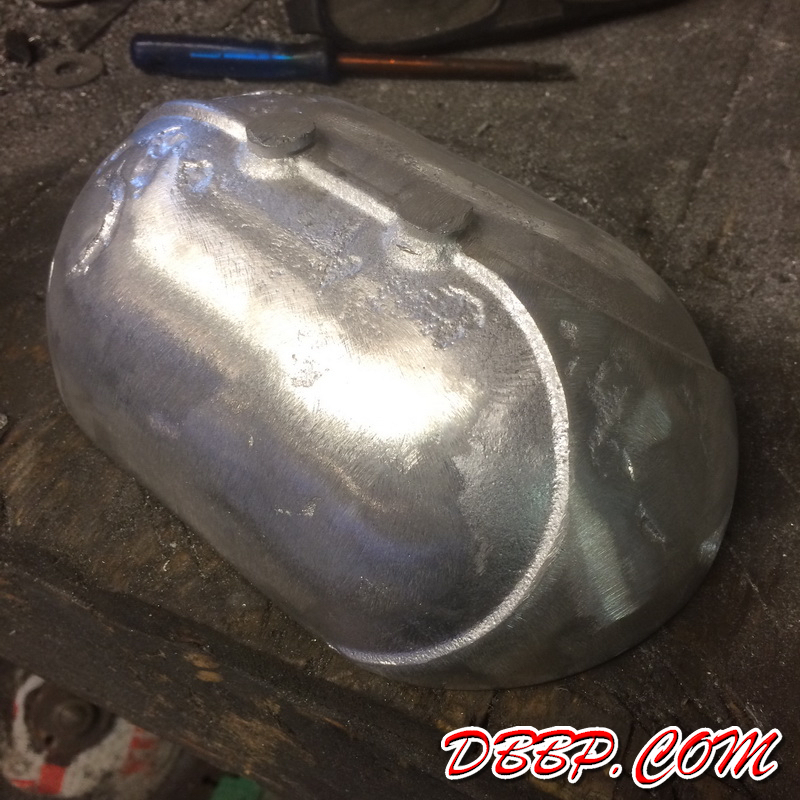
All in all the cover looked pretty decent apart from the airbubble
where the aluminium did not get. Back in the crucible!(melting
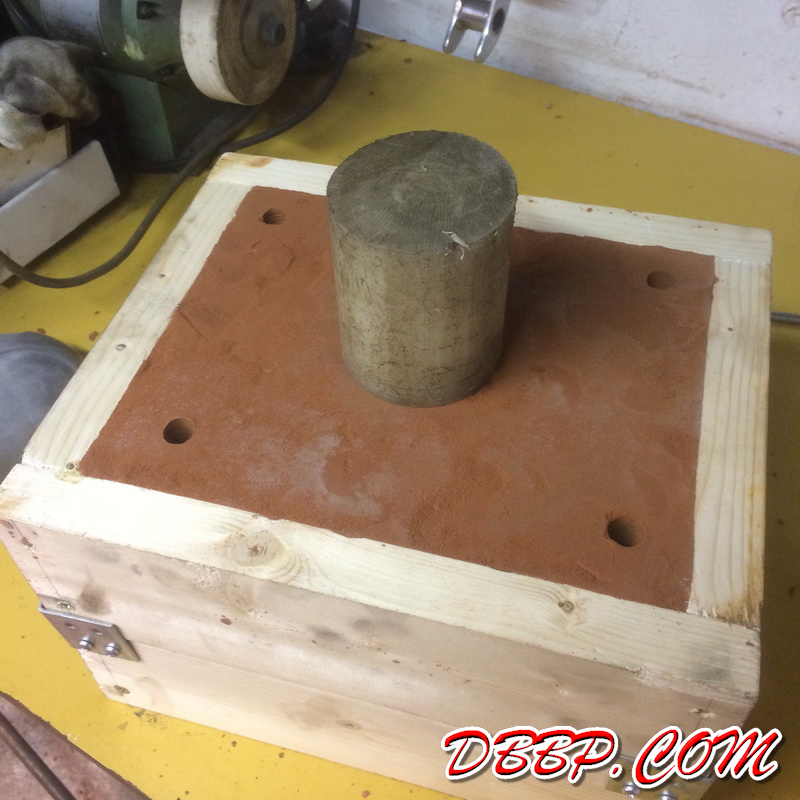
pot) On the second try I made several large diameter risers
to make sure the metal would get everywhere, and it did!
|
|
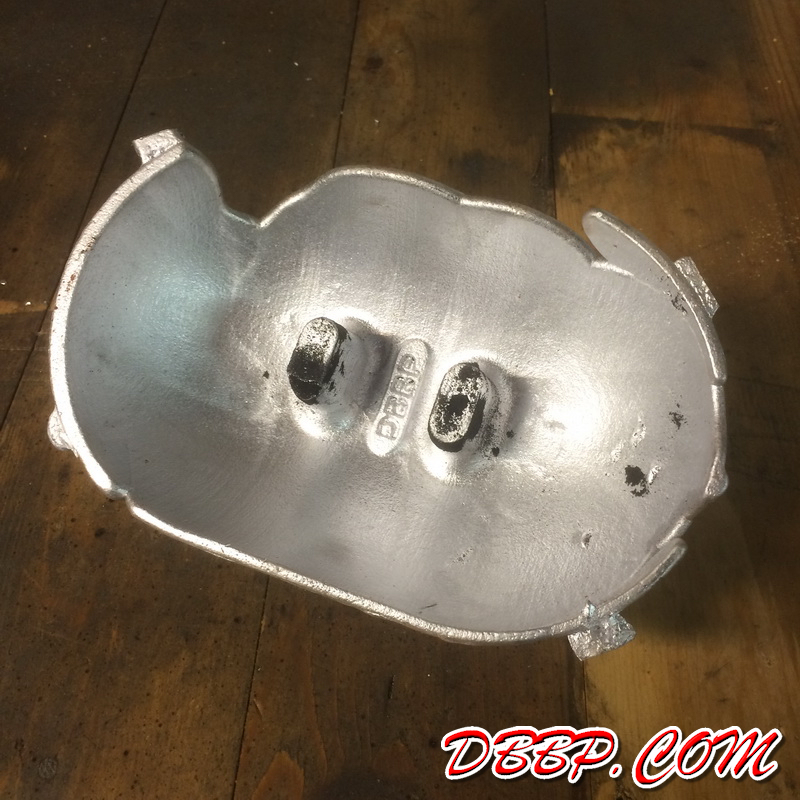
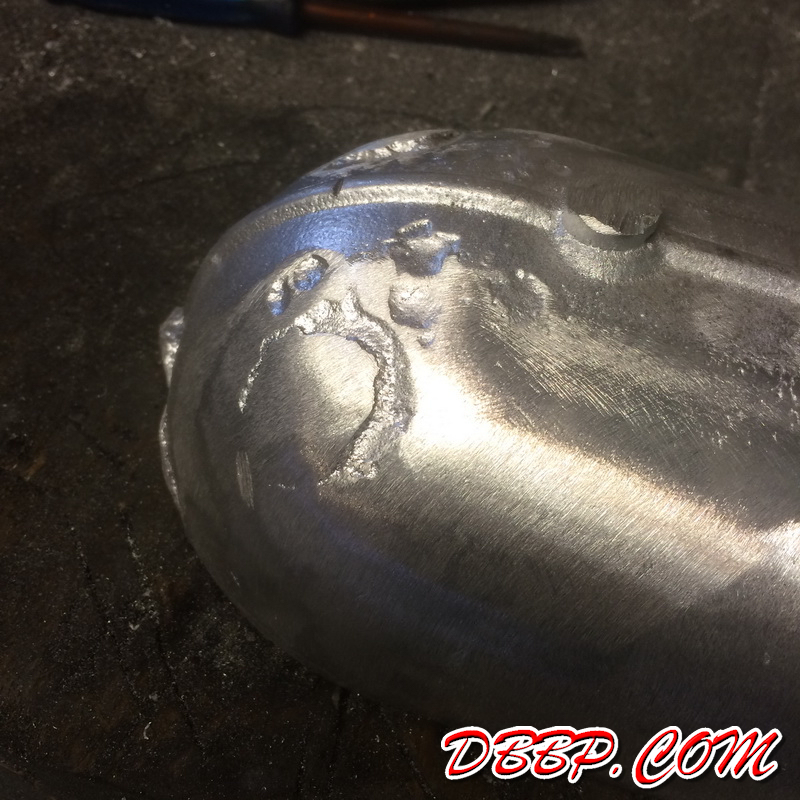
On the second attempt however I saw that the material in the
areas where the thick 25 mm riser connected to the thin 4 mm
wall the material around the edge had sunken in a bit. This
is caused by the fact that aluminium shrinks quite a bit when
coolng and as I should have known by now large differences in
wall thickness should be avoided. ( I have been designing cast
parts for more than 30 years..) Allthough we could have welded
some material on the deep spots that would be cheating, so this
one goes back in the crucible also. Tomorrow I will try for
the third time, this time I think I know how I should do it!
|
|